Github Actions - Reviewing Deployments
TL;DR - Refer to protected environments in your workflow to add deployment guards
Previous post
In a previous post, we learned how to use the cache-action, and run parallel jobs to speed up our workflows. Now, let's look at how we can enable manual reviews of deployment workflows. This gives a team the possibility to run deployments with an approval guard, i.e. it would typically go through the team-lead or tech project manager as an extra security measure.
Separate deployment workflow
When running your Github Actions, you typically want to keep the critical deployment actions behind a couple of manual steps with guards. Why? In any given project I assume the team wants to have full control over deploys even though continuous deployment is preferred. The implication of automatically deploying your application could be e.g. the team not being properly staffed to handle a set-back related to the newest deployment. Imagine being a developer in your project having to hunt down team members during a weekend to help with an outage. Oh the terror.
The first step is to create a brand new Action, which should be concerned with deploying your application. The workflow trigger should be set to workflow_dispatch, we wanted this to be manually invoked, right? Remember that you can use the inputs object here to add input controls when deploying. These could be variables that are cross-checked in your scripts, a deployment message etc.
Next up we would probably need to add environment variables. These differ greatly from project to project, but would typically be e.g. deployment keys. Finally you specify the jobs. This is a personal opinion but I would rather run all the build- and test jobs again to make sure all checks pass before deployment. You could argue that all the code in your main-branch has been built and tested, and you would be right. But I sleep better this way!
The workflow below has a lot of steps omitted, please refer to the older posts for an in depth look at what they might look like.
Protected environment
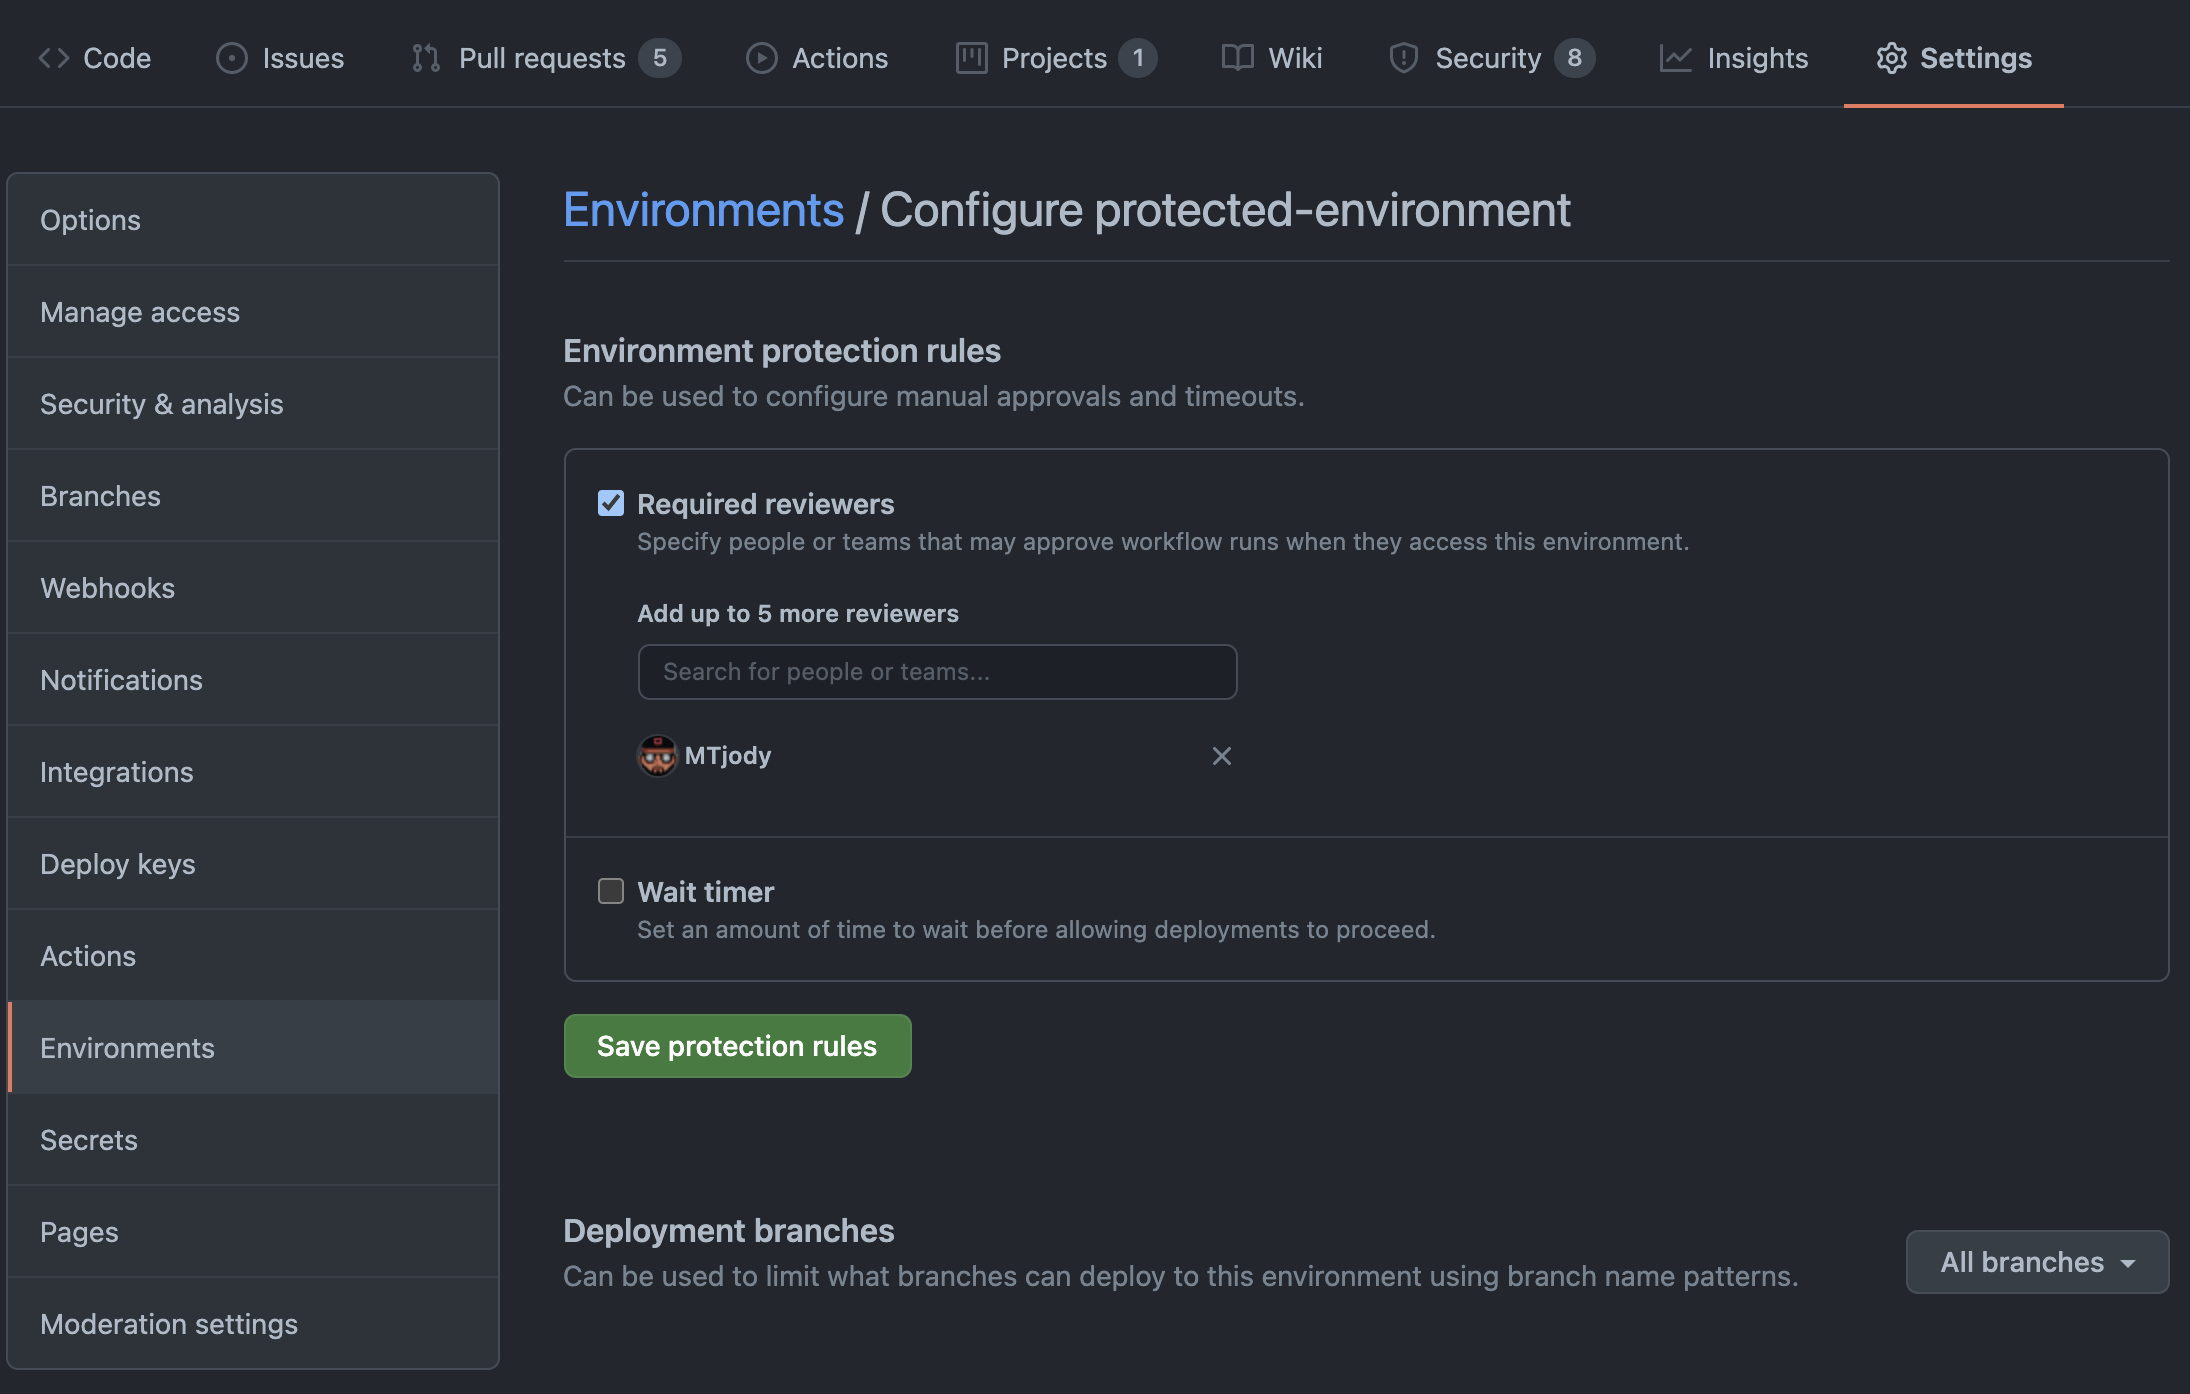
Now that we have a deployment workflow we need to add a protected environment. Go to your repository settings, and under environments you add a new environment. Once you've given it a name you'll get to set it up. It's easy to setup; you can add reviewers and also branch protection rules for your deployments. You could for example enforce that the production environment is always deployed from your main branch.

We just need to reference this bad boy from our workflow and then we're done. See the deploy.yml file under the Publish job, we specify the environment name and Github does the rest.
PRO TIP 1: let's use the Github deployments action to get a nice activity log when navigating to the environment in Github. If used in a build workflow you'll also get informative entries in the Pull Request overview with links to the deployment. It's very simple to use, you just place the start step before your deployment, and the finish step afterwards. The env property needs to match the environment name.
PRO TIP 2: we can name our deployments dynamically if we want temporary environments. This is necessary if you build and deploy on a per-branch basis, otherwise you'll end up with a shared Github Environment for multiple PRs, which leads to an inconsistent UI in Github. When the PR is merged and the branch is deleted you just need to run the deactivate step. This is best done in a separate Github Actions Workflow which is triggered on PR closed events.
Note! You should probably delete your branch dev environment on your hosting provider as well, since the deactivation below only concerns the Github Deployment. Nobody likes pollution in the cloud 🤓
This concludes the three-part series about Github Actions Workflows. Hope you found it useful! Stay tuned as I have a post planned which describes how to set up a simple and customized changelog structure for your projects with no dependencies on any other actions.